Coffee Grinder Not Working? 6 Checks First
Six checks for an espresso grinder that will not start or grind: hopper lock, thermal reset, burr setting, the button, the switch on the back, a flat surface.
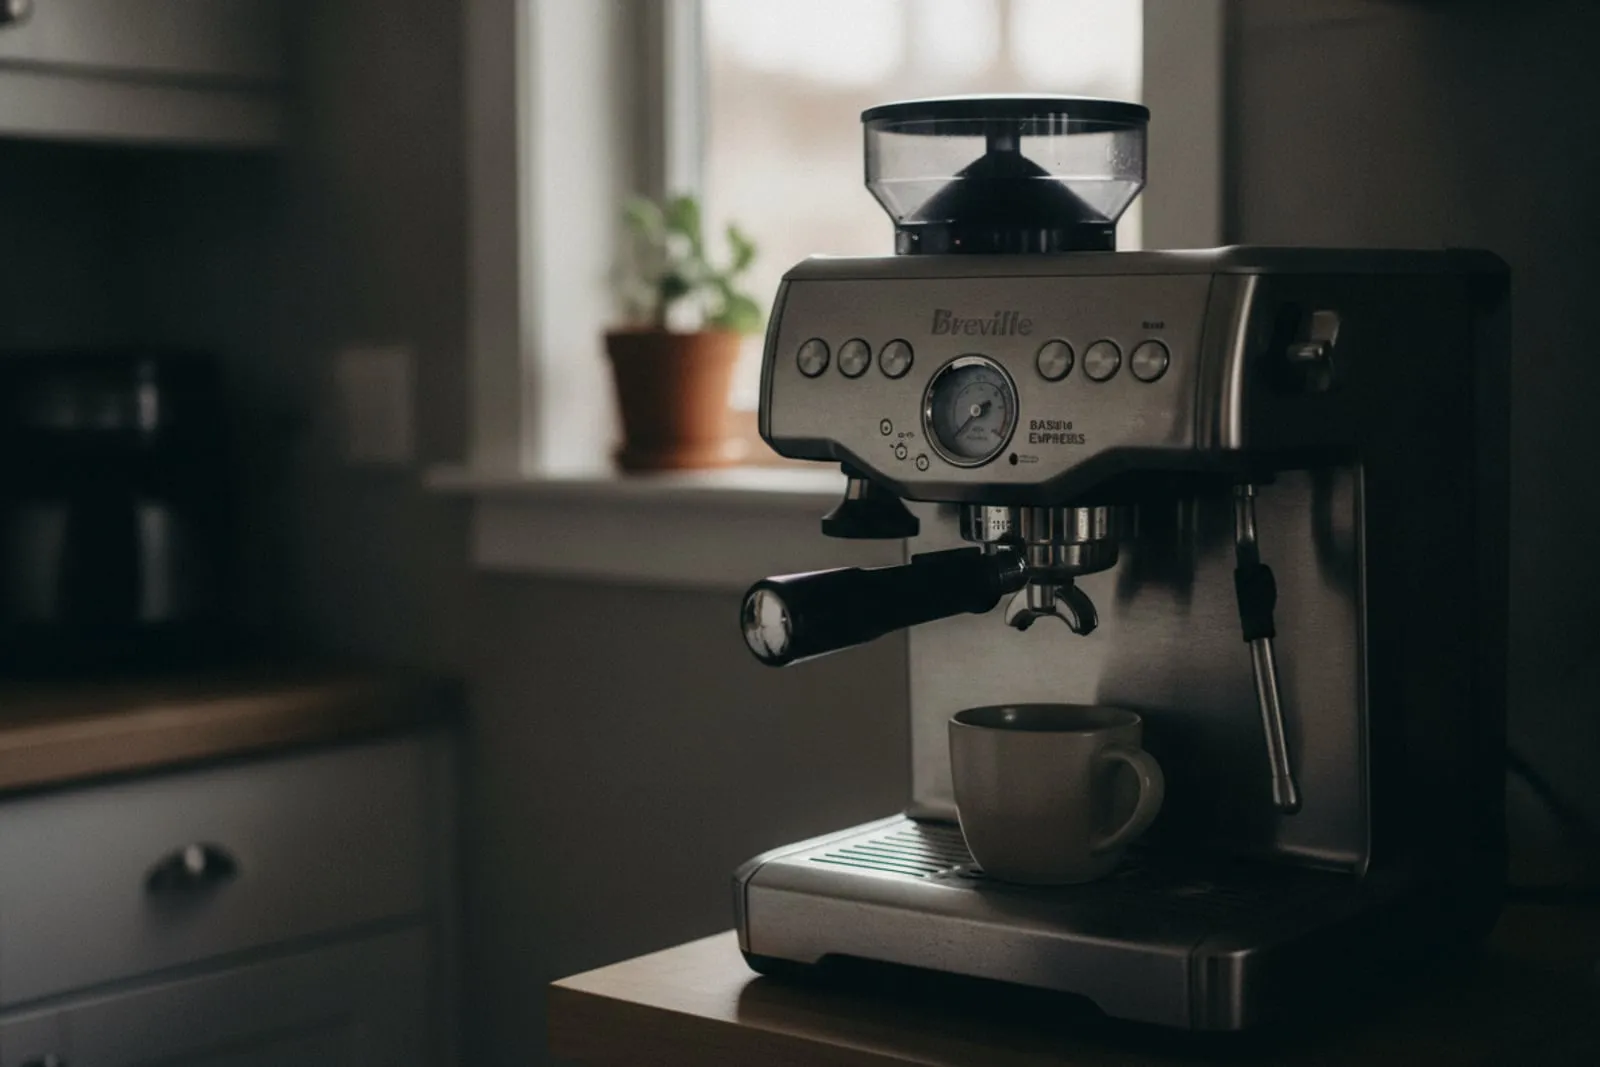
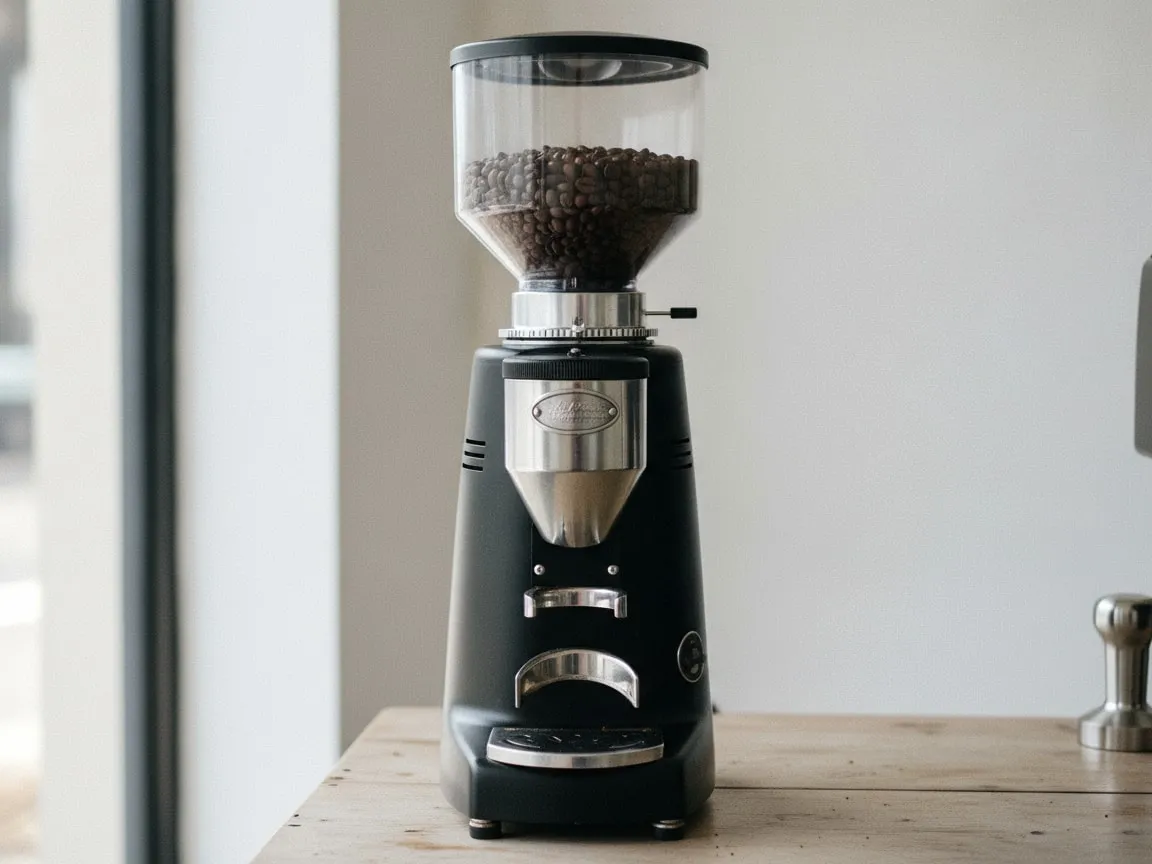
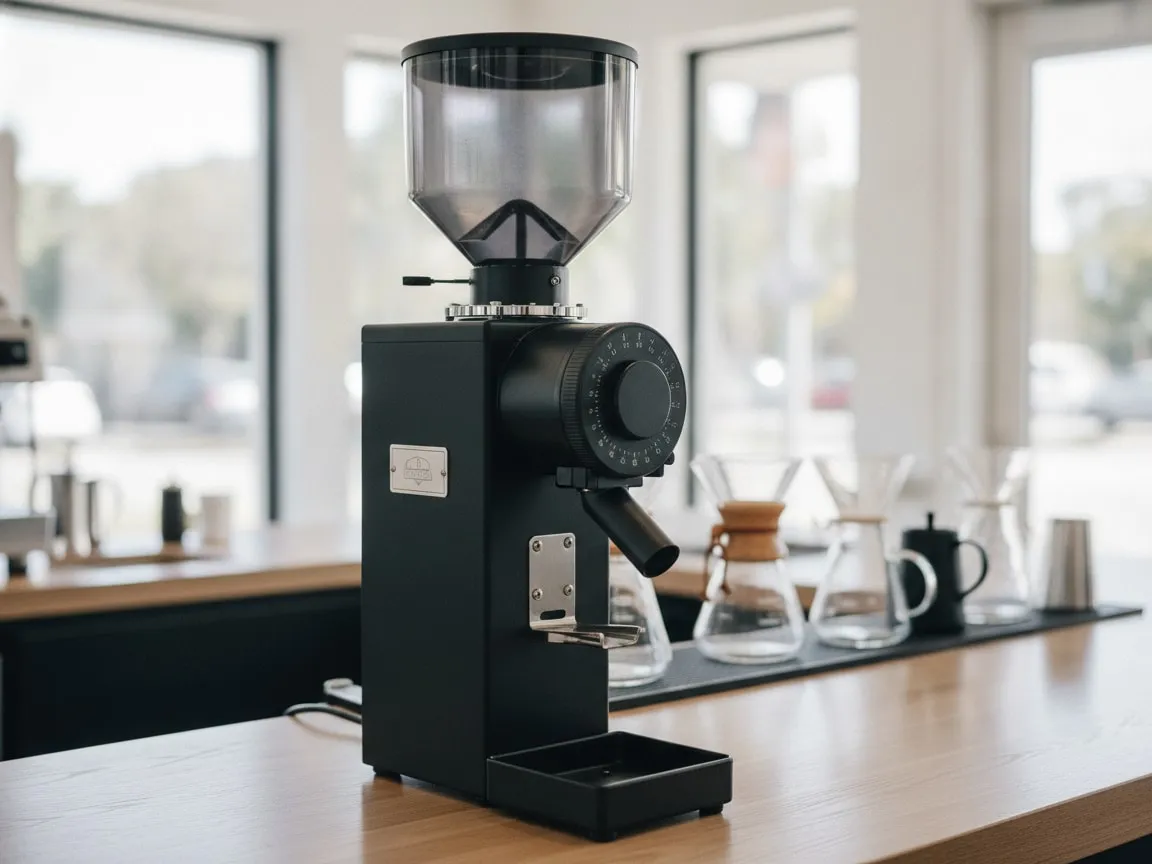
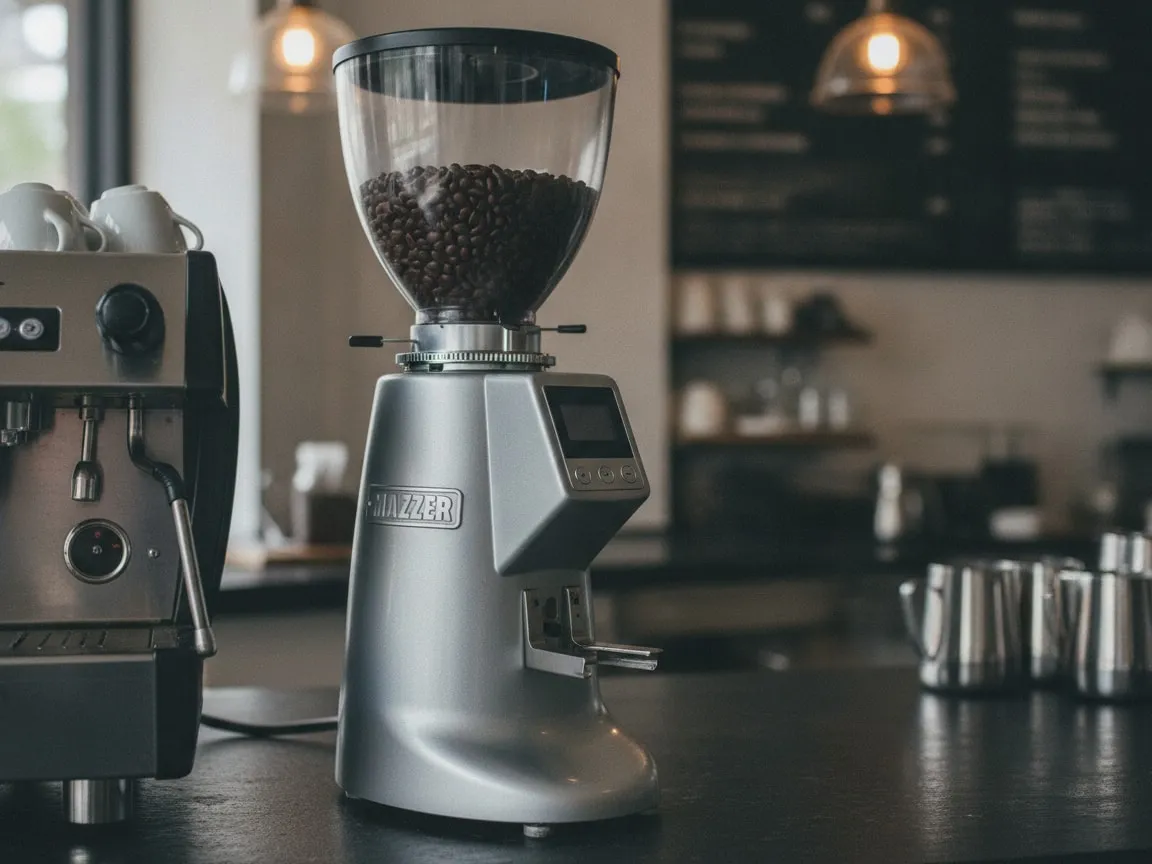
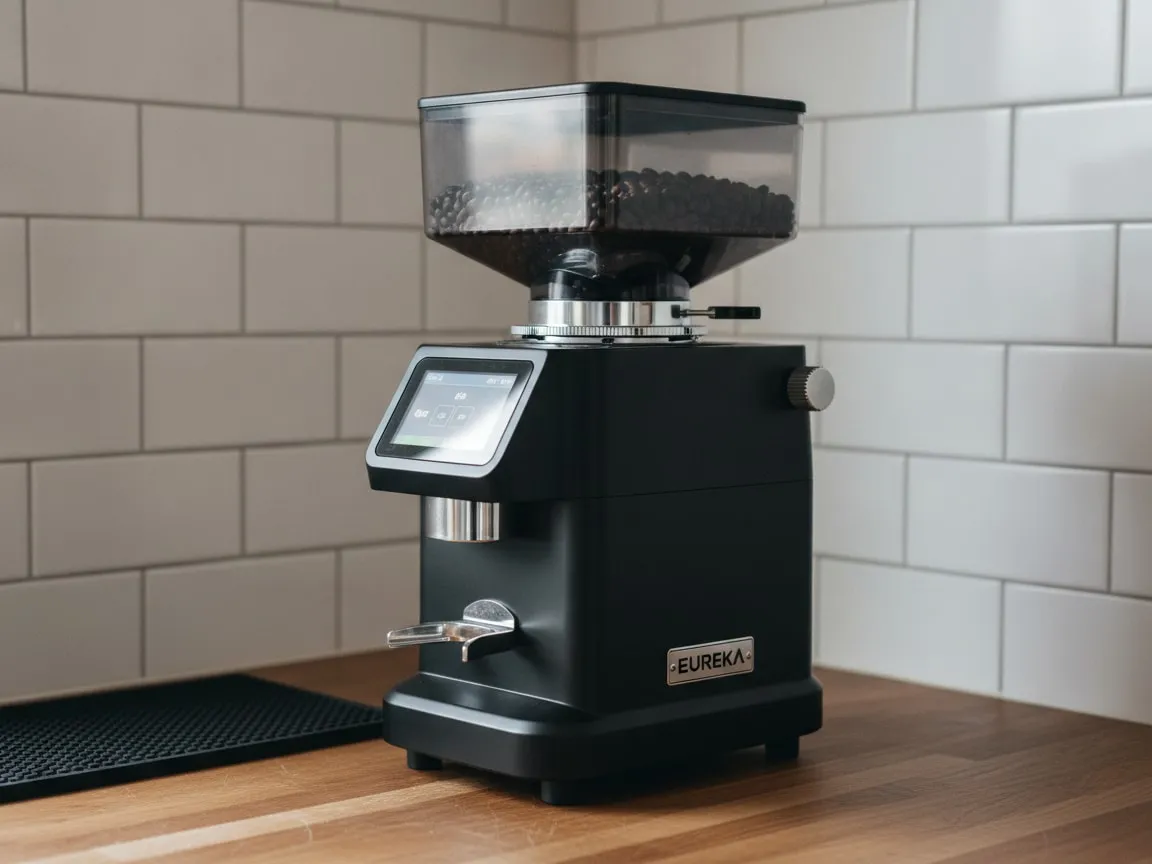
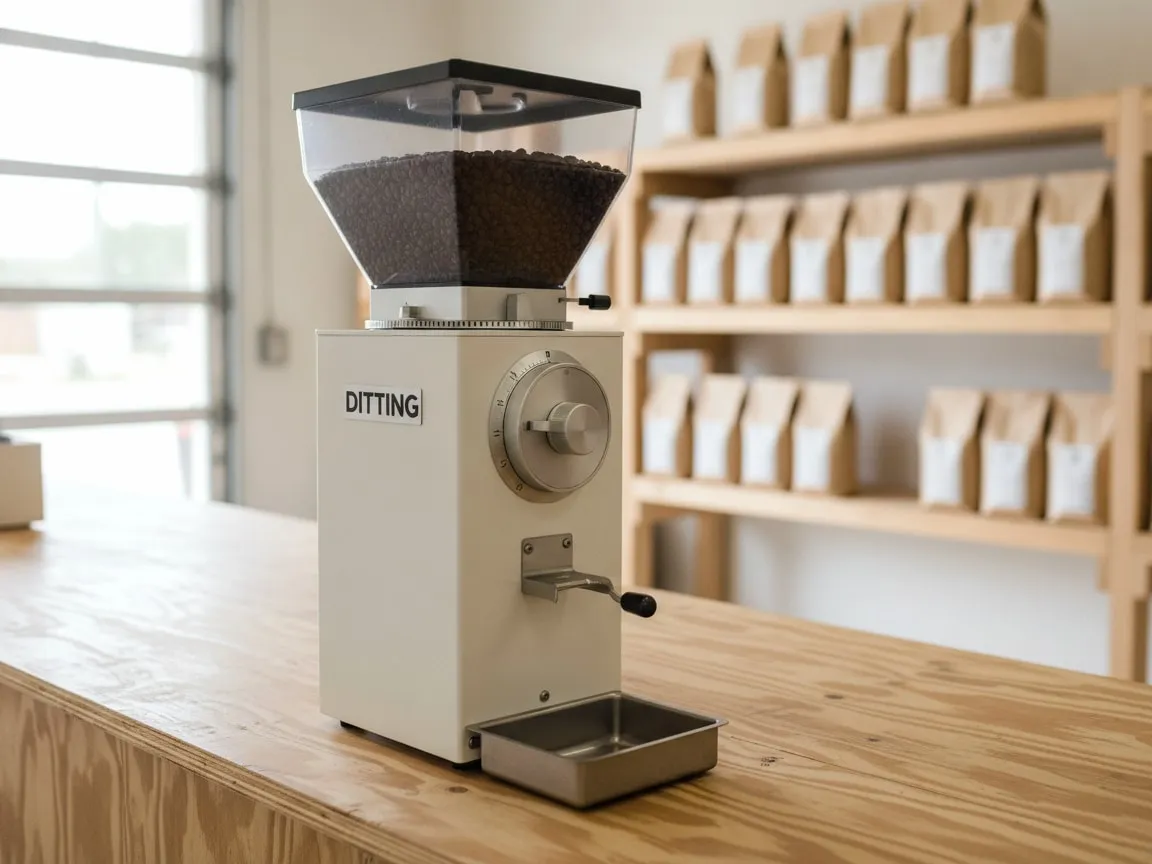
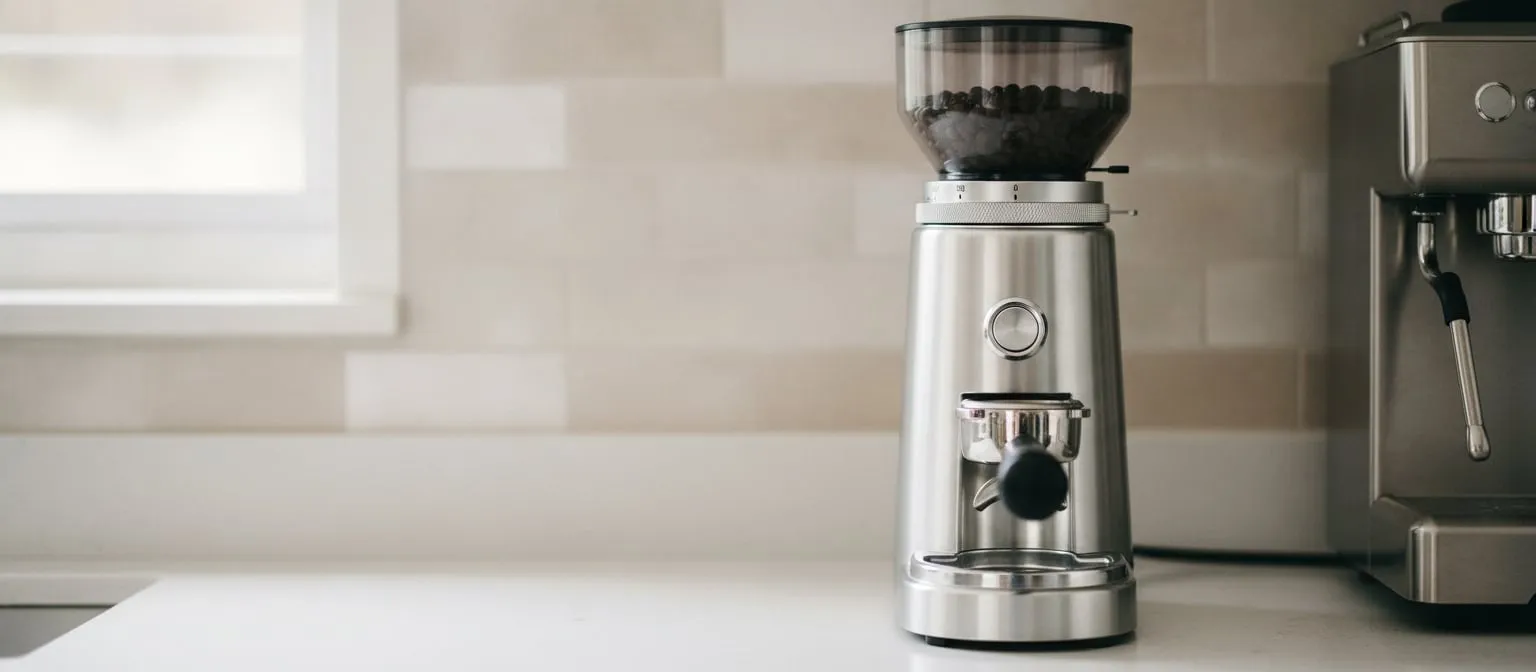
A grinder is a motor, two burrs and a switch. There is very little in it to fail, and so when one stops, the cause is usually one of the safety features doing its job: a hopper switch, a thermal cut-out, a tilt sensor. The checks below are the ones a technician does in the first two minutes with the grinder still on your counter, and they cover everything from a Breville’s built-in grinder to a Mazzer or a Mahlkönig on a bar in Los Angeles.
Do them in order, with the grinder switched off between steps. None of them opens the grinder. If your espresso machine is the problem rather than the grinder, the semi-automatic checklist is the page you want.
Turn the hopper until it locks
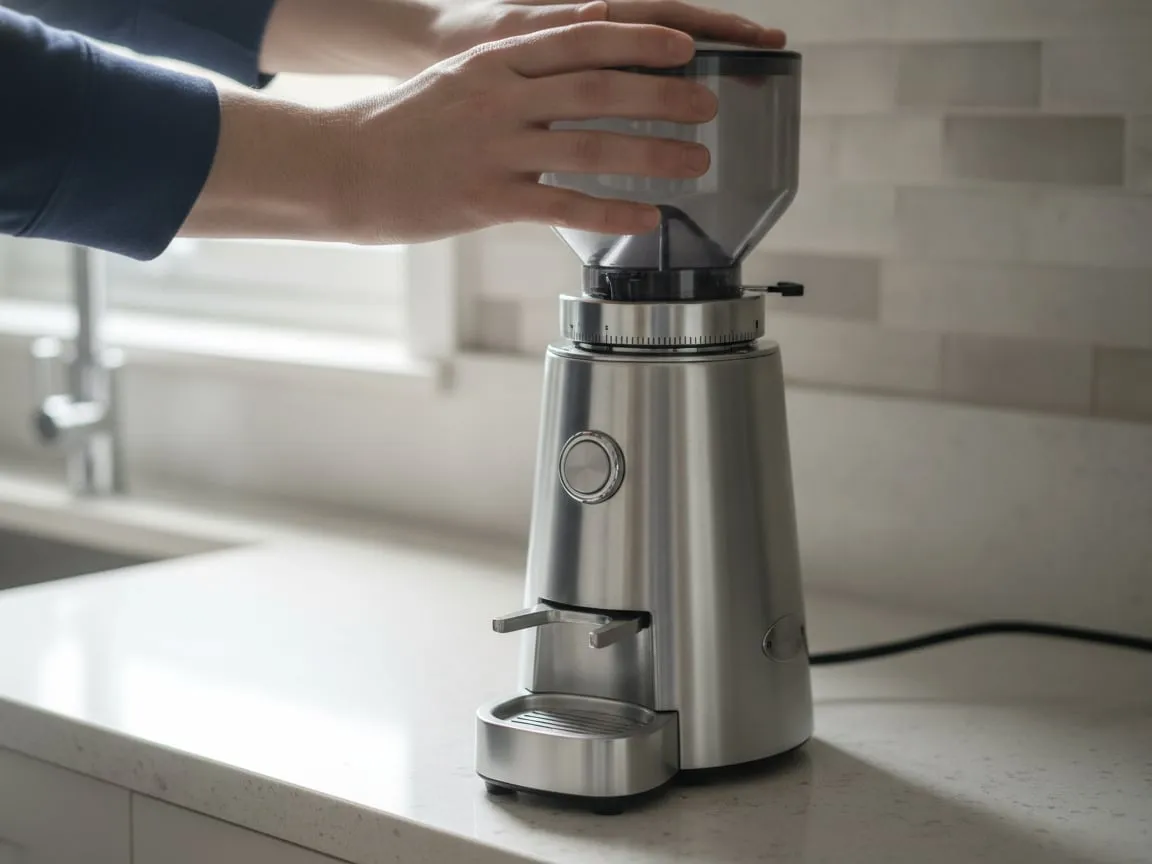
Almost every grinder with a removable hopper has a switch under it. Lift the hopper and the circuit opens, so that nobody can run the burrs with fingers over them. Set the hopper back down without turning it to its stop and the switch stays open; the button does nothing, and the grinder reads as dead. Mahlkönig’s own FAQ for the X54 says it in one line: the hopper has to click in completely before the motor will start. Mazzer fits the same switch to its larger models, and Breville flashes the dose light between the two cup sizes when the hopper is not locked.
Lift the hopper off, brush any beans out of its seat, set it back, and turn it clockwise until it stops. Then try the button.
Press the thermal reset
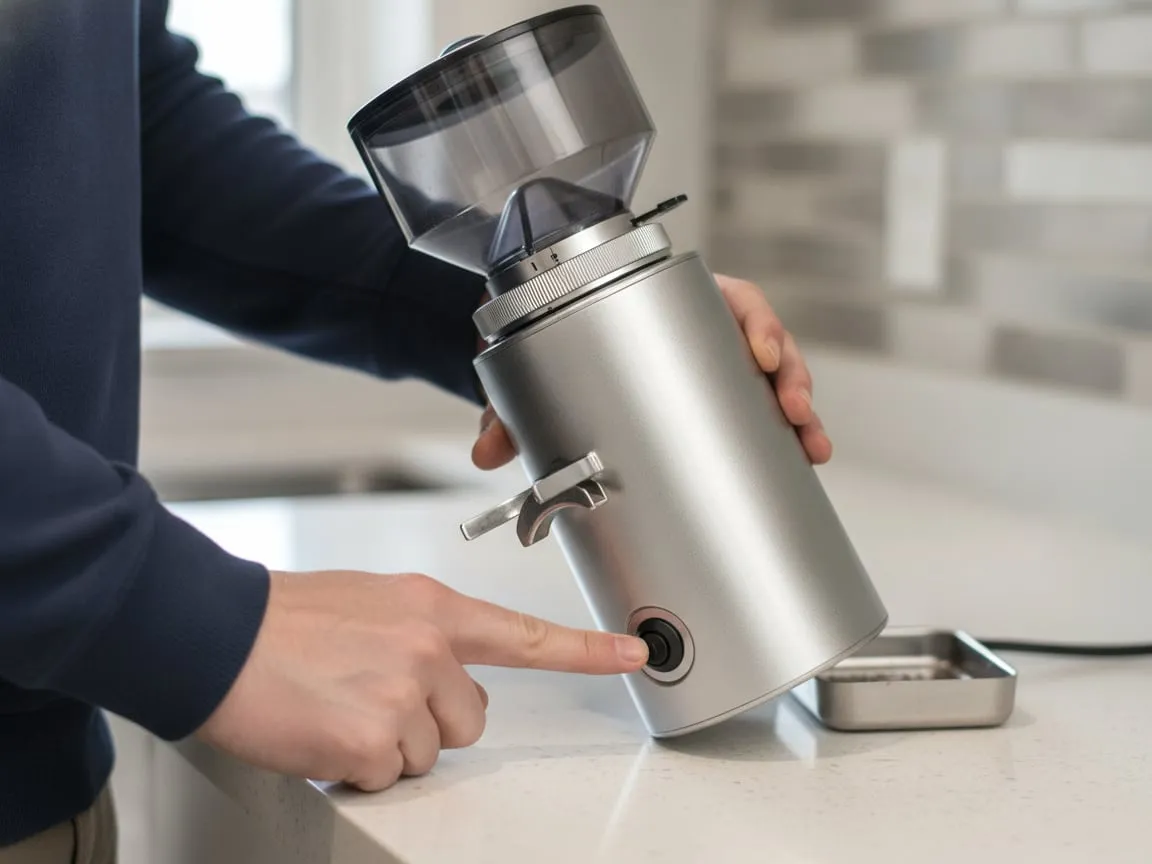
A grinder motor that runs for a long time gets hot, and a thermal cut-out stops it before it cooks. On a bar this happens on a busy Saturday; at home it happens when a whole bag is ground for a camping trip. The motor stops mid-grind, and when you try again nothing happens, which is the point at which most people decide it has burned out.
Unplug it, let it cool for twenty minutes, and look under the base or on the back for a small round button. Press it until it clicks, plug the grinder back in, and try with an empty hopper. The coffee technician who writes for Fresh Cup lists this as the first thing to check, and adds that it sometimes trips simply because a lot was ground, not because anything is wrong.
Open the burrs to coarse
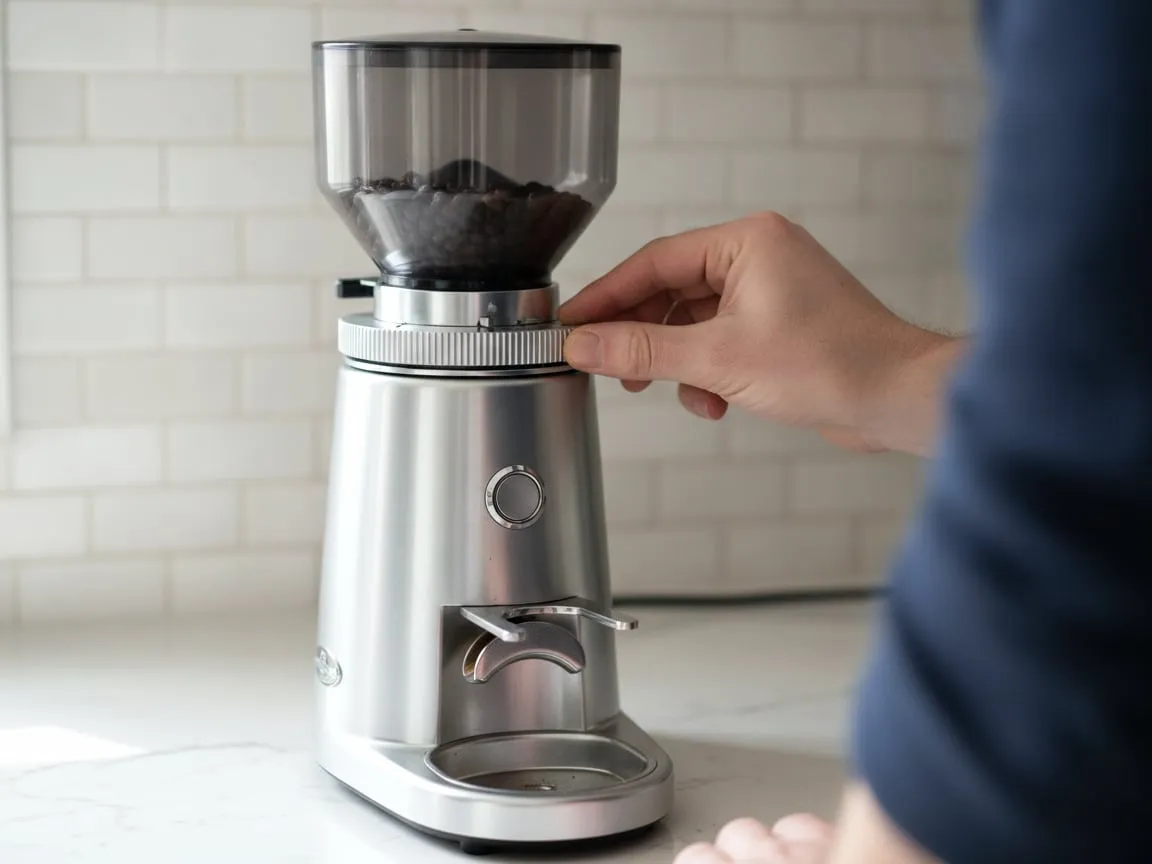
A grinder that hums and does not turn has something between the burrs. A stone from the roaster, a piece of a bag clip, a bean that wedged on its way in: the motor cannot start against it and hums until the cut-out trips. Empty the hopper, turn the adjustment collar all the way toward coarse, and run the grinder for a second. Whatever was wedged drops out of the chute, and the grinder can be dialled back to where it was.
If it hums on empty burrs at the coarsest setting, that is not a jam. On a Mazzer or a Fiorenzato it is almost always the start capacitor in the base, a cheap part and a short bench job. On a Breville it is usually a cracked upper burr carrier, which is also a part.
Hold the button instead of tapping it
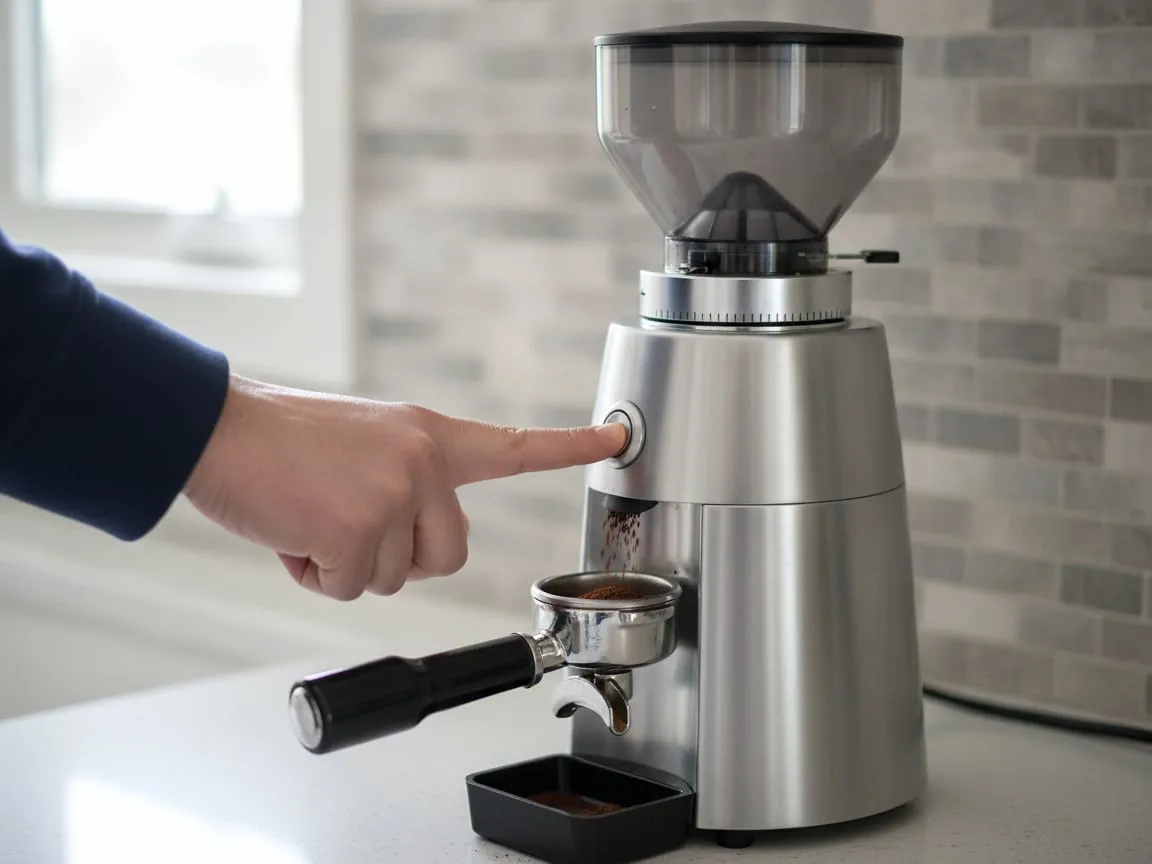
Modern grinders have more than one way to start. A tap runs a timed single dose; a longer hold runs the motor for as long as you hold it; on grinders with a scale, nothing starts until a portafilter sits on the fork and the scale sees it. A brand-new grinder arrived at our bench in October with the complaint that it did not grind at all. It ground perfectly. The owner had been tapping a button that wanted to be held, on a machine set to a mode nobody had read about.
Find the mode in the manual, or try both: tap once, then press and hold for three seconds. Watch the chute, not the display.
Find the switch on the back
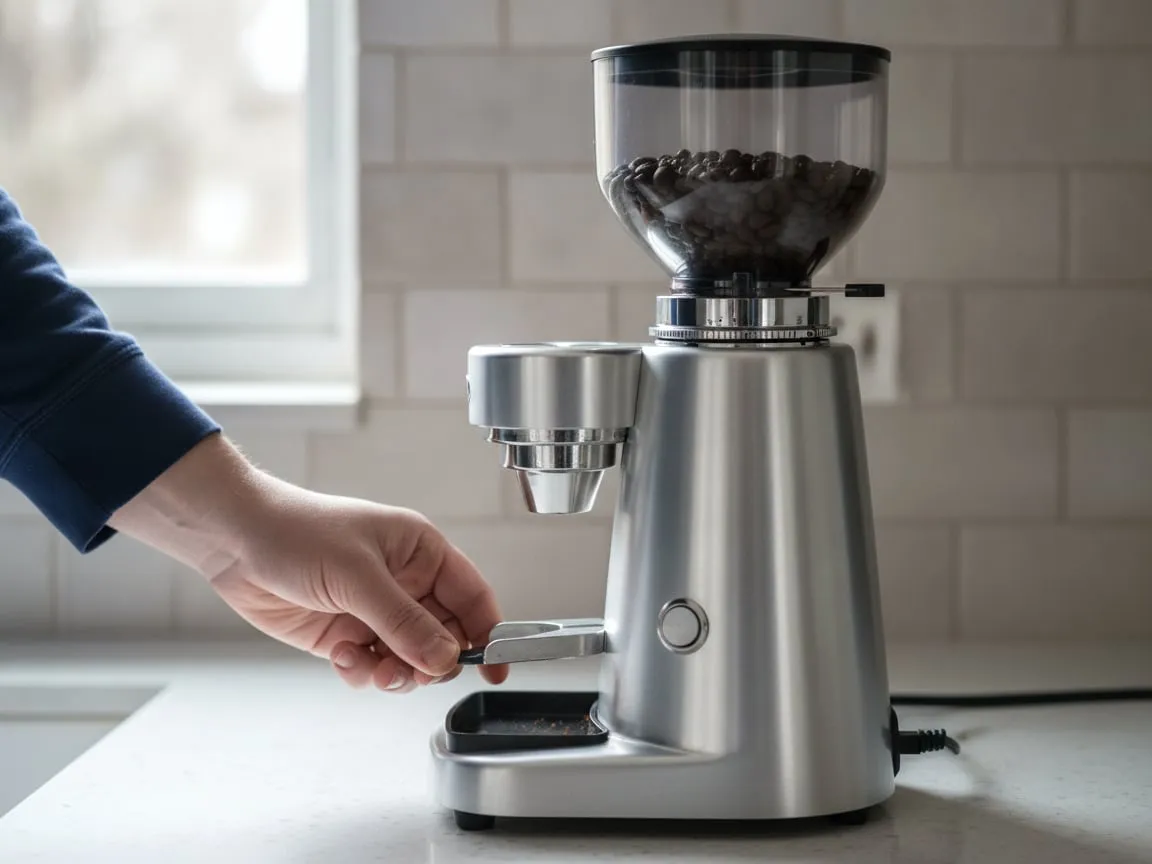
Commercial grinders and many prosumer ones have a main rocker switch on the back or the side of the base, out of sight. It gets knocked off by a cloth while the counter is wiped, or by the grinder being pushed back against the wall. The display, if there is one, goes dark, and the grinder looks unplugged. Reach around the base and flip it. Then check the plug itself, and the outlet with a lamp, the same way you would for an espresso machine.
Stand it flat and still
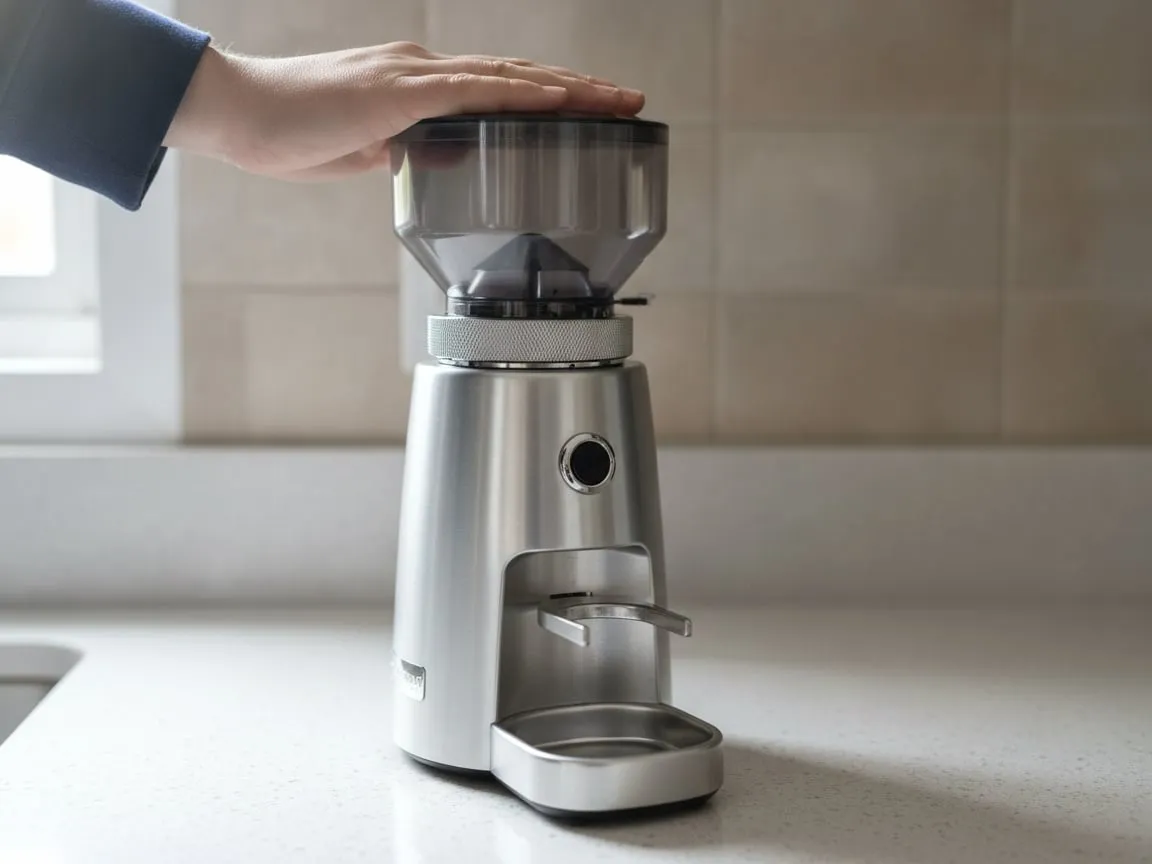
Grinders that dose by weight, and some that grind straight into the portafilter, carry a sensor that watches for movement. On a thick rubber mat, on a tray, on a counter corner that rocks, or with a hand leaning on it, the sensor refuses the dose and shows an error that reads like a fault. The same new grinder from step 4 did this on the bench until it was moved off the mat and onto the bare counter.
Stand it directly on the counter, press down on the lid to check that it does not rock, and keep your hands off it while it doses.
If it passed all six
Then it is the motor, the capacitor, the board or the burrs, and all four are bench work. The $145 diagnostic is credited in full toward the repair when you approve the estimate. The grinder rides our courier run in both directions at no extra charge. Tell us which checks you did and whether it hums, clicks or stays silent; those three sounds point at three different parts. A burr change on a set that has ground its rated kilograms is the most common outcome on a grinder over five years old, and the burr replacement guide explains what that involves and what the maker’s wear figure means for your model. Book a pickup and it rides the next run.
After the bench: what changed on your grinder
A grinder leaves the bench with clean burrs, a cleared chute and the adjustment set to a middle point, not to the mark you had it on. New or cleaned burrs cut faster, so the setting that gave you a 30-second shot last month will run it in 18. Start two full steps coarser than you expect to need, grind a dose, pull a shot, and come in finer from there. New burrs also take a few hundred grams to settle; the shot will slow a little on its own over the first week, and that is normal.
If it came back with new burrs, the first few doses carry a trace of machining oil and go in the bin, not the cup. If the dose weight has changed, that is the open chute delivering what the old packed chute kept back, and the timer wants a second less. Anything beyond that, send us a short video before you go further; the labor warranty runs 30 days from the return.